Thursday, December 30, 2010

May 2009


We finally finished the landscaping and the interior by May 2009. My wife found a company that sells planks that hold-in the mulch for the pathway.
The shed has turned into a health cottage for all of our exercise equipment. The flooring is made of cork that installed easily with tounge-in-groove planks over a moisture barrier. The walls and ceiling were painted with zero-VOC paints.


Sunday, August 19, 2007

August 19, 2007


We started the landscaping during the spring and summer. It's a work in progress.


A mulch path was installed from the driveway to the shed. Drainage is an issue because rainwater flows downhill toward the shed. The path was laid so that most of the water is diverted around the shed by a higher elevation of mulch in the front versus the sides. We still added a drainage pipe through the mulch to handle heavy rainfalls.


We added the rock beds along the sides and rear. It consists of railroad ties set in place with steel spikes and lots of rocks. This helps as a termite barrier by keeping the ground along the sides dry. The shed does not have gutters so the water naturally falls off the whole roof into the rock beds. It also keeps the siding cleaner because of less dirt splattering during rainfall.


Sunday, February 18, 2007

February 18, 2007


Pictures from the most recent snowfalls.


The cans contain landscape stones in preparation for work in the springtime.


Notice the boulders added at the front door. The snow hides a huge stepping stone the width of the front door.

Friday, December 01, 2006

December 1, 2006


An exterior light was added.


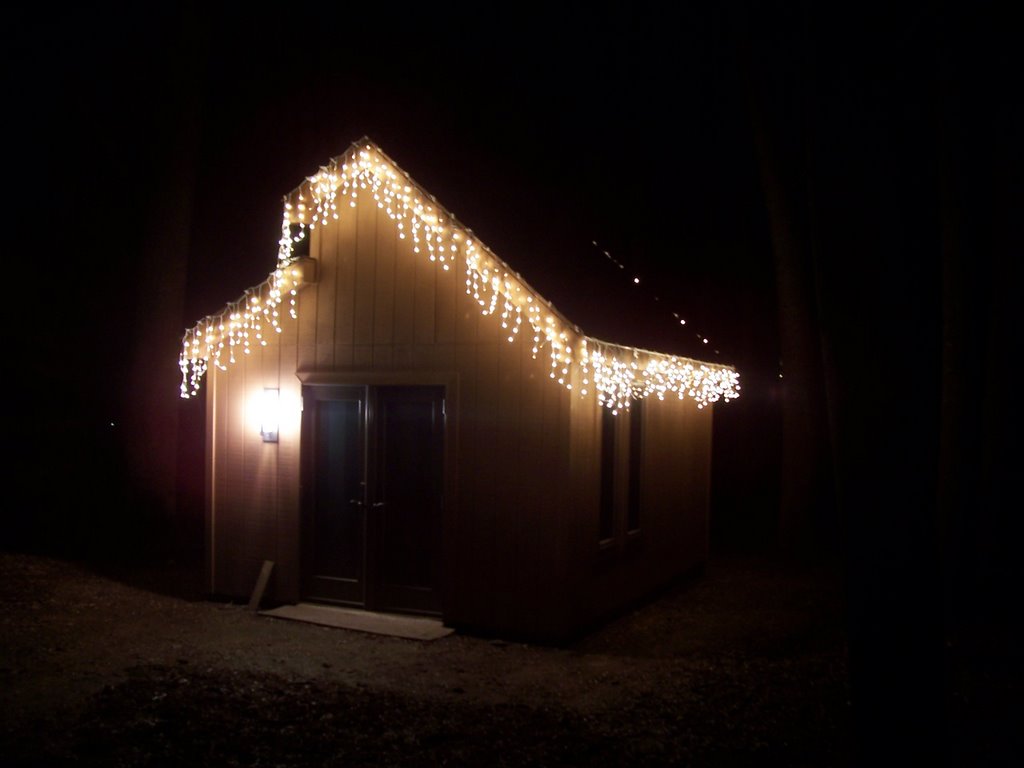
More lights were added for Christmas.

Monday, November 13, 2006

November 13, 2006

Here are the latest pictures after cleaning up the area.


Thursday, November 09, 2006

November 8, 2006

The county inspector performed the final inspection for the electrical service and the structure. It passed.

Wednesday, November 01, 2006

November 1, 2006


All the trim at the corners, windows, and fascia were painted on Tuesday afternoon and Wednesday morning.

Here is a rear view with trim painting completed. The trim required two coats but the siding used only one coat because it was previously primed with a tint close to the final color.

My wife painted most of the siding during the day and I finished the rest by Wednesday evening. We are looking at other finishing touches for the exterior like an exterior sconce by the front door and landscape rocks.

October 30, 2006

The beginning of the week was abnormally warm so my wife and I decided to finish painting the shed. The weather reports indicated that we should have warm weather for the next three days. Plus with daylight savings time, I have light earlier in the morning. I caukled at 6:30 AM before going to work and again after work until dark.

Thursday, October 26, 2006

October 26, 2006

A county inspector returned for the close-in electrical inspection. It passed. The next inspection will be the final for the building and the electrical.

Wednesday, October 25, 2006

October 21, 2006


The door lock and handles were installed plus some finishing trim was added to the door.


Electricity enters the shed at an opening on the left and connected to a 20 Amp GFCI receptacle. The other blue cable just above is the Cat 5e network cable.


More electrical work was performed to prepare for the next electrical inspection. Holes were drilled into the studs to run 12 gauge/3 wire NM electrical cable. The one wall switch in the junction box controls power to a ceiling junction box. The junction box hanging on the cable will be for an exterior light. Junction boxes were also mounted for receptacles throughout the shed.


The junction box between the ceiling joists is for a ceiling fan. The light is temporary.

October 20, 2006

The county performed two inspections today. The shed was approved for the framing but rejected for the close-in electrical. I was not sure what was needed for the electrical at this point. Now I know what the want.

Monday, October 09, 2006

October 9, 2006

I have taken a short break from working on the shed. Too many other things have been delayed. On Saturday I cleaned up all the debris on the inside in preparation for a framing inspection which will include an electrical close-in inspection.

I was able to play some golf with my son on this Columbus Day Holiday. Earlier in the day, I did more clean-up and connected electricity inside the shed. A lot more electrical work is needed.

Sunday, September 24, 2006

September 23, 2006


We measured, cut, and installed 1x4 trim board at all corners.


Finishing the door installation is where we spent the most of our remaining time today. An installation flange (gray) was inserted into a track on three sides of the door.


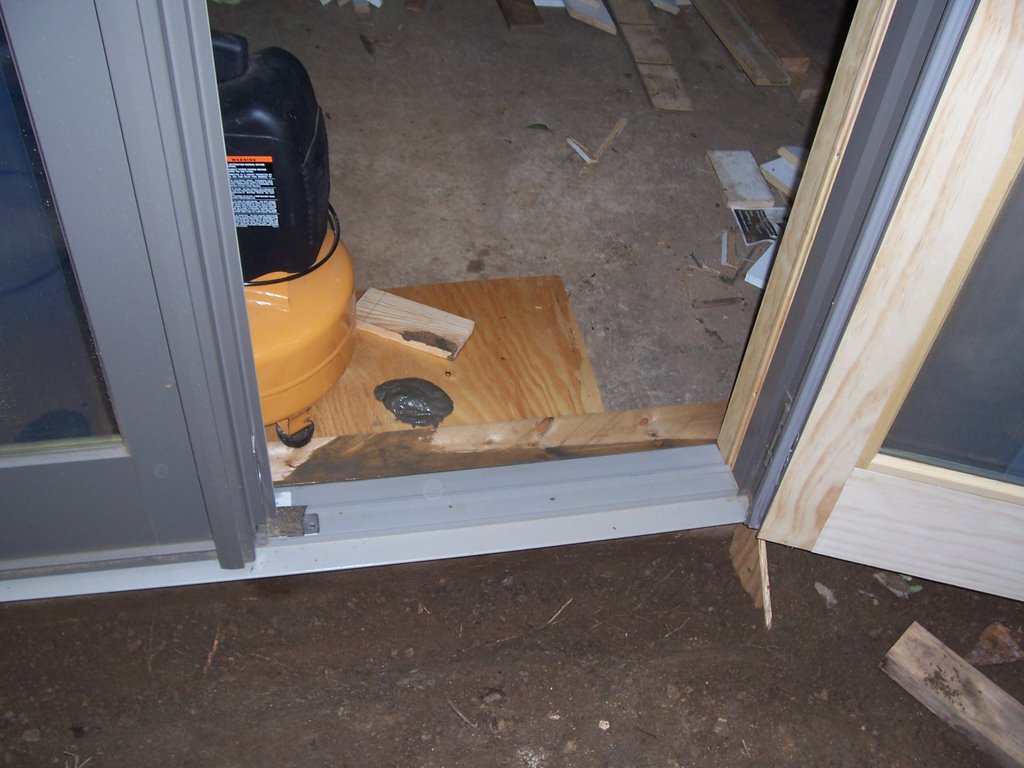
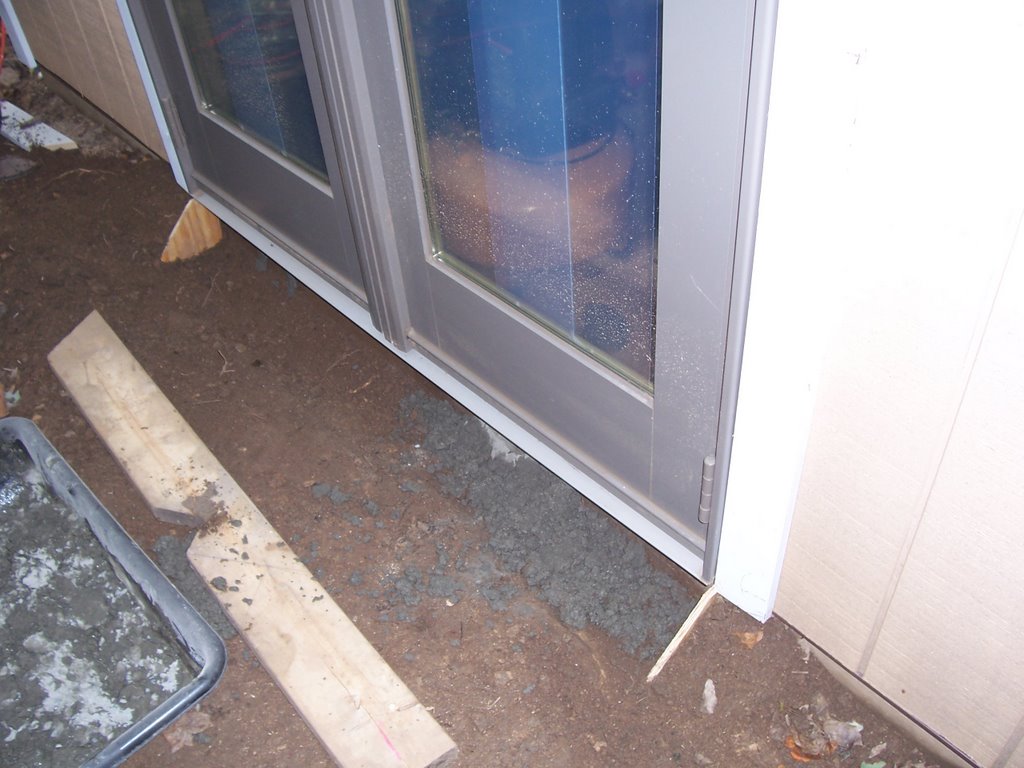
A gap below the treshold needed to be filled with concrete. Screws were placed into the holes at the threshold and would be set in place with the concrete. We installed wood forms around the threshold to hold back the concrete mix.


The concrete was prepared in a pan and poured into an area dug out in front of the door.


The concrete was set sloped down so that rain water would drain away from the door.


Caulking and painting are next.

Sunday, September 17, 2006

September 17, 2006


I was able to complete the priming during the week for all the new siding added from last Sunday. Unfortunately I had a another funeral to attend on Saturday so we again worked on Sunday. We setup the work area for another long day.


We were able to get even closer to finishing the exterior today by completing all the soffit work.


Flashing tape was installed around all the windows. It helps seal out moisture and restricts air infiltration.


Caulk was applied around the upper windows, along the siding, and any trim pieces showing gaps. 1x4 fascia board was installed around the windows.


One more Saturday to add the fascia board at the corners and around the door. Plus a little concrete work to add support to the door threshold.

Here is the view on the other side. I will have to buy more fascia board during the week.

Tuesday, September 12, 2006

September 10, 2006


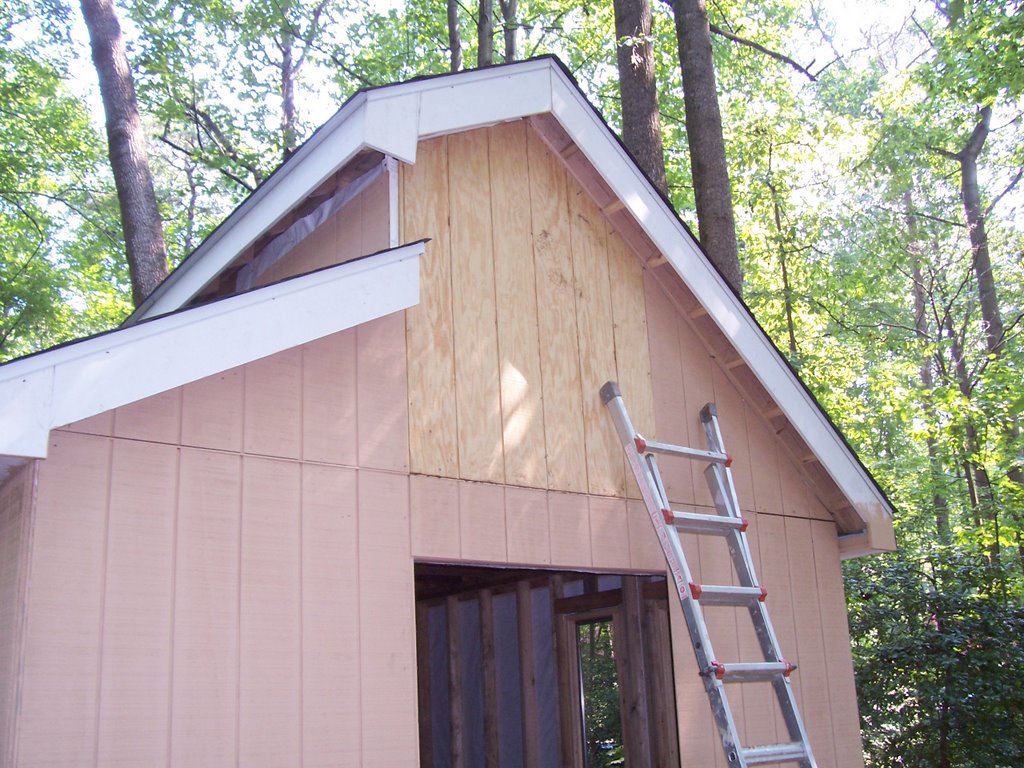
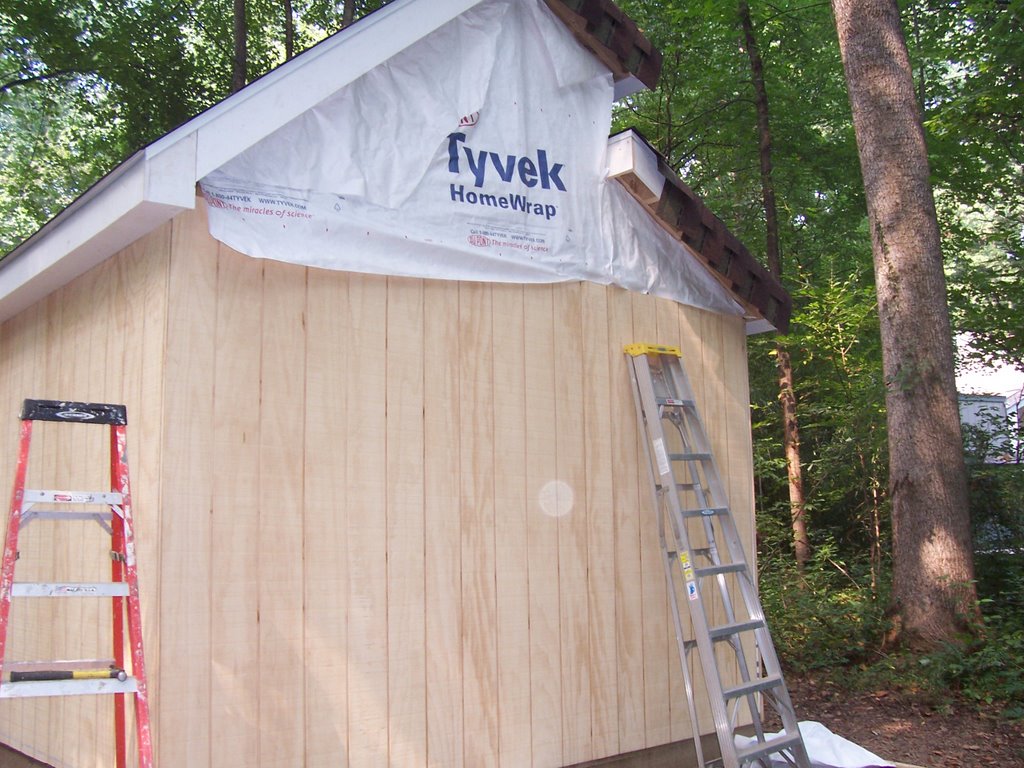
I had to attend a funeral on Saturday so I rescheduled the carpenter for Sunday. We accomplished quite a bit of work with additional help from a neighbor. We foresee the end coming soon. We re-installed the two upper windows because it needed the Tyvek wrap and T1-11 siding. (These windows were previously placed temporarily just to see how it would look.) Also notice the flashing added between the siding and the roof shingles.


We completed the T1-11 siding at front. It will be primed very soon. The soffits still need to be finished.


We installed two more windows on another wall and completed the Z-flashing at the bottom of the T1-11 siding. Caulk will be applied between the concrete pad and the Z-flashing to complete the seal at the bottom.


The French Double Door was a three-person job to install.


Sunday, September 03, 2006

September 2, 2006

I did more painting of the siding last Thursday night before the rain arrived Friday morning. We had remnants of Tropical Storm Ernesto moving up the East coast. It was too wet to work on Saturday.

Tuesday, August 29, 2006

August 29, 2006


My son and I applied primer to all but one wall before dark. The primer has about half the tint of the final color which will save of us from having to apply two coats of the basic white primer.

Sunday, August 27, 2006

August 26, 2006


We began work on another beautiful Saturday at 8:00 AM. My carpenter and another friend started work on the soffits. I finished the Tyvek wrap on the gable walls. (Notice that the shingles on the rear side still need to be trimmed.) I also finished installing the T1-11 siding with framing nails. They were spaced about 12 inches apart along each stud. My carpenter's rechargeable neumatic nailing gun made it go very fast.


This view shows more soffit work plus the T1-11 siding installation. We installed Z-flashing between the top and bottom sheets of T1-11 siding.


We used all 16 sheets of T1-11 and will need to purchase one more sheet to complete the exterior. We were also able to install two windows.

Z-flashing was installed between the bottom edge of the T1-11 siding and the bottom plate. The T1-11 had to be trimmed to enable nailing the Z-flashing.

The remaining exterior work to complete: install the French Double Door, install two more windows on opposite wall, trim shingles, prime and paint the siding and trim, install corner trim, finish soffits, install remaining Z-flashing to siding, and install Tyvek wrap and siding onto upper wall.

August 24, 2006

I left work early today to work on the shed. The weather this week has been spectacular. I hate to lose valuable daylight hours doing office work.

My wife and I installed the T1-11 siding on the other two walls in preparation for the work on Saturday. Each sheet of T1-11 siding was installed with only 3 or 4 nails in case they have to be adjusted. We will do the final nailing on Saturday.

Monday, August 21, 2006

August 19, 2006


My carpenter arrived on time as usual, but he could only work a half-day. We applied the Tyvek on two walls and thought we could also install the windows. We discovered the windows would look much better after the siding is installed. I plan to have wood trim around all the windows. If the windows are installed before the siding, they will be countersunk into the siding, leaving no edge for the wood trim.


We partially nailed up the siding to the studs on two sides. Z-flashing and caulk will be applied at the bottom of the siding to keep out those pesky termites. I will finish nailing the siding and installing the Z-flashing later. My carpenter had to leave at this point.


My wife decided to help me for the remainder of the day. We were only able to install the Tyvek on the remaining two walls. The gables will also need Tyvek, but that's for another day.